The Woodwork Bench / Field notes & guides
Beginner woodworking tools: a practical buying order
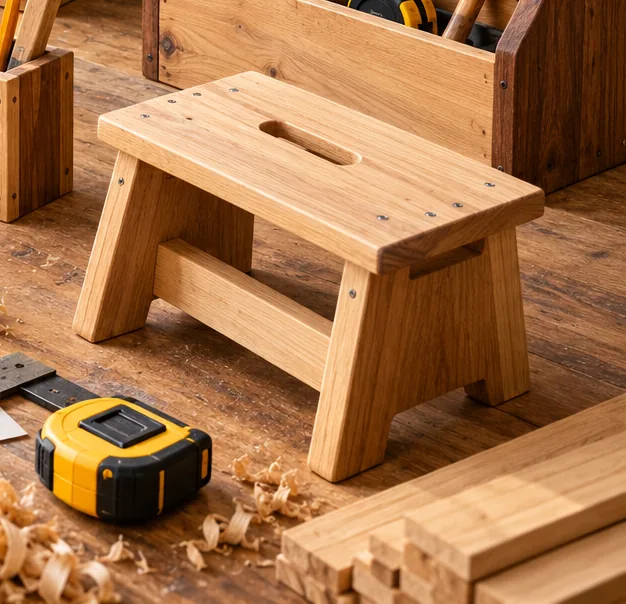
A small, dependable tool kit can complete more projects than a large collection of rarely used machines.
Measure and mark first
A tape measure, combination or try square, sharp pencil and marking knife cover many layout tasks. Use the same reference edge when transferring dimensions and mark the waste side of a cut. A reliable square matters because small marking errors accumulate during assembly.
Choose a cutting method
A handsaw is inexpensive and useful for small crosscuts. A circular saw can handle sheet goods and longer straight cuts when supported correctly and used with a guide. A table saw is valuable for repeatable ripping but demands space, setup and disciplined safety practices. The best purchase depends on the projects you actually intend to build, not on an abstract ranking of machines.
Drilling, driving and clamping
A drill/driver, pilot bits and a countersink cover many beginner joints. Clamps are not optional extras: they hold components while glue cures and help prevent movement while fastening. Start with a couple of medium clamps and add sizes based on the work. Never use a hand to hold a small workpiece close to a spinning bit or blade.
Prepare and finish surfaces
A sanding block and a sensible range of abrasives are often enough for a first project. Work through grits rather than jumping straight to very fine paper. Remove dust before applying finish, and follow the product instructions for ventilation, drying and safe rag disposal. Oily finishing rags can present a fire hazard if handled improperly.
Spend on the bottleneck
Build one project and note which operation consumed the most time or caused the most inaccuracy. That identifies the next tool to consider. A good guide, sharp blade or additional clamp may improve results more than buying another powered machine.
Build a kit around the next project
For a small shelf, write the operations in order: mark lengths, cut boards, check square, drill pilot holes, assemble and sand. Each operation needs a reliable method, but not necessarily a powered tool. A hand saw and cutting guide may be perfectly adequate for a handful of short crosscuts.
Buying a tool because it appears in a photograph is a poor substitute for understanding the job. A large machine also brings requirements for stable support, clear working space, extraction and maintenance. Consider borrowing equipment or asking a timber merchant about cutting services where appropriate.
Consumables that belong in the budget
A drill is little use without suitable bits. Include sharp saw blades, correctly sized drill bits, driver bits, sandpaper, glue and compatible screws in the shopping list. Match screws to the material and joint; screws intended for one application are not necessarily suitable for another.
Clamping pressure should hold parts in alignment without crushing the material or forcing a poorly fitting joint closed. Practice the sequence without glue so you know where the clamps will go and whether you can reach every screw.
Tool care and safe setup
Check that blades and bits are sharp and undamaged, and follow the manufacturer’s setup instructions. Disconnect power before changing accessories. Keep cords out of the cutting path and use stable support rather than balancing a board on an improvised surface. If a technique is unfamiliar, obtain appropriate instruction before trying it.
Related practical guides
Read and check a woodworking plan · Make a shopping list · See a worked shelf example · Use the wood calculator
Before your first cut
For a quick measuring, material and dry-fit check, read Avoid beginner woodworking mistakes.