The Woodwork Bench / Field notes & guides
A simple wall shelf: worked cut list and build sequence
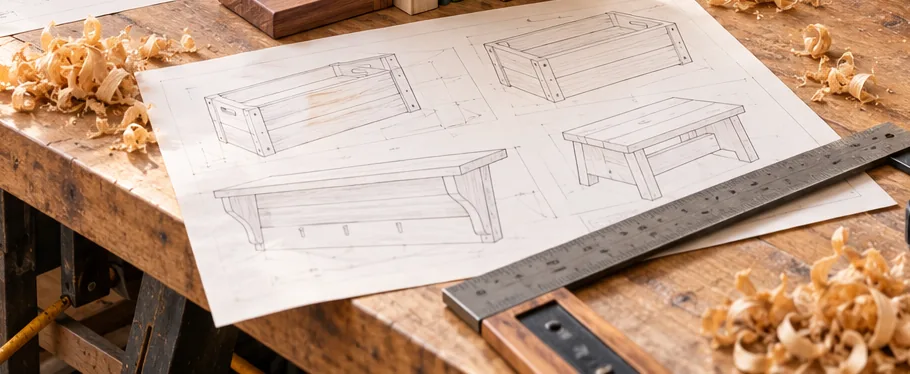
This small project demonstrates how dimensions turn into a cut list. It is an example of a light-duty shelf unit; its safe load depends on timber quality, joints, fixings and the wall substrate. Do not use it for heavy loads without a verified design.
Choose the dimensions and stock
Example outside dimensions: 600 mm wide, 300 mm tall and 180 mm deep. Assume 18 mm sheet material with two full-height sides and a shelf fitted between them. The clear span is 600 − (2 × 18) = 564 mm.
Measure the sheet before cutting. A change in material thickness changes the length of every between-side component. If you choose a different depth, keep the same calculation but update the cut list.
Illustrative cut list
Two side panels: 300 × 180 mm. One bottom panel: 564 × 180 mm. One top panel: 564 × 180 mm. One back rail: 564 × 60 mm. All pieces are assumed to be 18 mm thick.
This example uses a back rail to help with positioning, but it does not specify a rated wall-mounting system. Select fixings for the actual wall and expected load, or ask a qualified installer.
Build order
First label the reference face and front edge of each part. Cut the two sides together where practical so they match. Cut the top and bottom to the measured internal width, then dry-fit the box and check diagonals for squareness.
Mark pilot-hole positions so screws will enter the centre of the receiving panel without breaking through the face. Clamp the joint and use the appropriate pilot and clearance holes for your fasteners. Fix the back rail only after checking the assembly is square.
Ease sharp edges and finish the timber in accordance with the coating instructions. If using sheet goods, consider whether exposed edges need edging or sealing.
Common mistakes
A shelf that is 600 mm long will not fit between two sides in a 600 mm-wide unit. A cut list should identify whether dimensions are internal or external.
Do not assume a photograph tells you how the unit is anchored. A shelf can be neatly built yet unsafe if attached to unsuitable plasterboard fixings or overloaded.
Important limitation: wall fixings
The example is an illustration of cut-list and assembly planning, not a certified load-bearing design. The safe load depends on the timber, joints, bracket geometry, fasteners, wall substrate and installation. Plasterboard alone, masonry and timber studs require different fixing approaches.
Do not infer a weight rating from the example dimensions. Use brackets and fixings with documented ratings suitable for the actual wall and intended load, and consult a competent installer where uncertain.