Independent woodworking planning guide
How to calculate lumber for a woodworking project
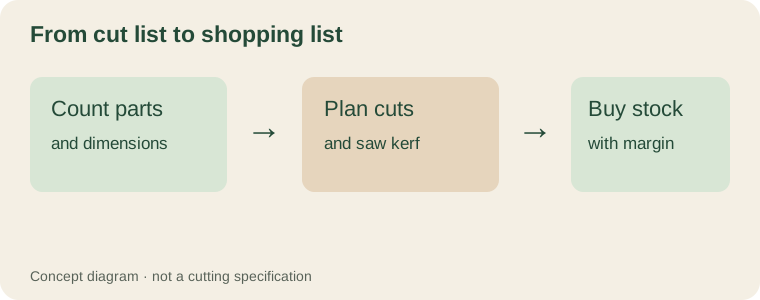
Start with finished parts, then work backwards to the boards you must buy. Total finished length alone can underestimate material.
1. Write a finished-parts list
Record quantity, finished length, width and thickness for each part. Group parts by material and thickness. Do not mix feet, inches and millimetres in one calculation.
2. Convert nominal to actual sizes
In US stores, nominal dimensional lumber labels such as 1×4 or 2×4 are not the finished cross-section. Check the merchant’s actual dimensions before deciding whether a board is wide enough.
3. Lay out cuts on purchasable boards
For example, four parts at 18 inches require 72 inches of finished length. A 72-inch board will usually be insufficient once saw kerf and end-trimming are included. Draw a cut layout against real stock lengths and include the blade’s kerf for each separation.
4. Allow for unusable material
Knots, splits, grain direction, cupping and imperfect ends can reduce yield. There is no universal waste percentage that fits every project; add a project-specific margin based on the timber and cut layout.
5. Check board feet separately
Board feet estimate volume, not whether the right lengths fit on your boards. One board foot equals 144 cubic inches. For rough-sawn material, multiply thickness × width × length in inches and divide by 144; confirm how the supplier measures and sells the stock. Use our calculator as a cross-check.
Worked estimate with waste
Suppose a cut list needs four 600 mm pieces and two 350 mm pieces from the same stock: finished length totals 4 × 600 + 2 × 350 = 3,100 mm. That is not the purchase length. Six separate cuts at an illustrative 3 mm kerf would consume about 18 mm, before end trimming and defects. The exact cutting sequence changes the number of cuts and the stock lengths you can use.
Sketch each purchased board and place the longest parts first. Mark knots, splits and other unusable areas, and keep grain direction in mind. Compare the resulting board-by-board layout with what your supplier actually sells. A percentage waste allowance is a budgeting shortcut, not a substitute for checking whether every required part physically fits.