The Woodwork Bench / Field notes & guides
How to choose your first woodworking project
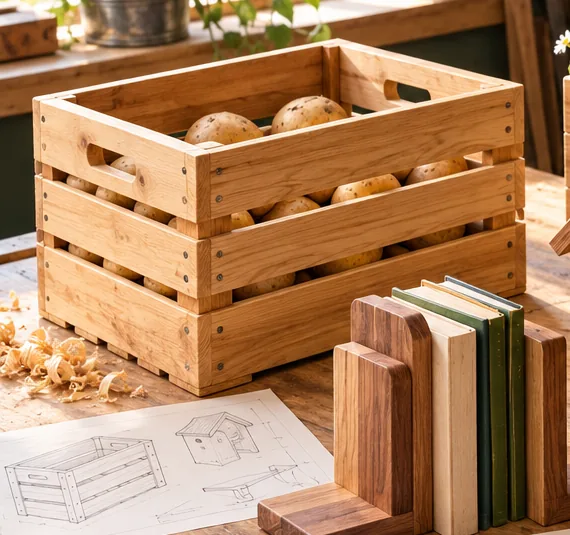
A first project should teach a few repeatable skills without demanding a workshop full of tools.
Choose by operations, not just appearance
A small box may look simple but its tight-fitting lid can demand more accuracy than a basic shelf. List the operations before choosing: measuring, marking, straight cutting, drilling, fastening and finishing. For a first build, prefer a project that uses mostly straight cuts and forgiving joints. Avoid compound angles, curved components and doors that must align precisely until you are comfortable checking square.
Check the tools before buying materials
Read the complete plan and underline every tool mentioned. Separate essential tools from conveniences. A circular saw with a straightedge may substitute for a table saw on some straight cuts, but it will not make every operation equally easy. A drill/driver, clamps, measuring tape, square and suitable saw are enough for many simple projects. If a plan requires routing dados, resawing boards or turning legs, consider a different project rather than improvising a risky technique.
Set a sensible size and budget
Choose something small enough to move and store. Sketch its outside dimensions and measure the actual location where it will live. Build a shopping list from the cut list, then add fasteners, finish, abrasive paper and a modest allowance for mistakes. Timber sold in nominal sizes may be smaller than its label suggests, so measure the stock you can actually purchase.
A useful first-project checklist
Before committing, confirm that you can explain the assembly sequence in your own words; that each component has a dimension; that you know how the joints work; and that you have a way to hold the work safely during cutting and drilling. If one of those answers is missing, find a clearer plan. A simple wall shelf is a useful worked example, but its wall fixings must suit the wall and intended load.
What to do next
Read our plan-reading guide, then examine the shelf project and its cut list. When you can follow one complete project from drawing to shopping list, you will be better equipped to evaluate a larger collection of plans.
A simple project scoring exercise
Give each candidate project one point for each of these conditions: it uses straight cuts; the plan lists every part; it uses tools you already have; the finished item fits a space you have measured; and the joints are explained clearly. This is not a scientific rating of a design. It is a quick way to expose why a handsome-looking project might be frustrating as a first build.
For example, a basic open shelf could meet all five conditions if it uses standard boards and visible fixings. A small bedside cabinet might score lower if it needs drawers, concealed hinges or several precisely aligned panels. Choose the project with fewer unknown operations, even if it looks less impressive in a photograph.
Plan the build in three sessions
Session one is preparation: confirm dimensions, inspect materials and mark out parts. Session two is cutting and a dry assembly, where parts are held together without glue so errors can be corrected. Session three is final assembly and finishing. The sessions do not need to happen on consecutive days, and finishing may require additional drying time.
Write down what must be done before glue is opened. If the finish cannot reach an inside corner after assembly, finish that area first if the product instructions allow it. If a shelf needs wall mounting, choose the fixing method for the actual wall and expected load rather than treating mounting as a final decorative step.
A useful definition of success
The first project does not have to be perfect or even especially attractive. A better outcome is a stable object built without unsafe improvisation, accompanied by notes about what you would change. Keep the offcuts from a miscut; they are useful for practicing drilling, sanding or testing a finish before you apply it to the finished piece.
Related practical guides
Read and check a woodworking plan · Make a shopping list · See a worked shelf example · Use the wood calculator
Before your first cut
For a quick measuring, material and dry-fit check, read Beginner mistakes to check before cutting.