Independent woodworking planning guide
Plywood cutting layout guide
A sheet cutting diagram answers a different question from a list of panel dimensions: will the pieces actually fit on the sheet?
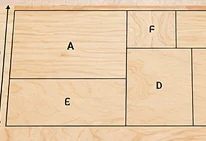
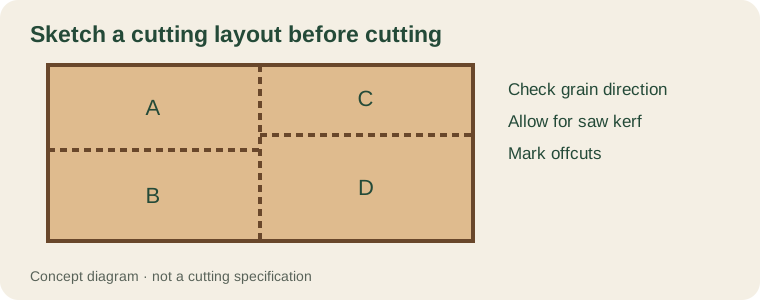
Start with the actual sheet
Measure the purchased sheet and confirm its thickness. A nominal 4 × 8 ft sheet is commonly described as 48 × 96 inches, but availability and tolerances vary. Check before designing around exact edges.
Worked one-sheet example
Suppose you need two panels at 23 × 30 inches and two at 12 × 24 inches from a 48 × 96 inch sheet. A possible first pass is to allocate a 30-inch-long zone for the two 23 × 30 panels side by side, and a 24-inch-long zone for the two 12 × 24 panels. This uses 54 inches of sheet length before accounting for the separating kerfs; check the precise cutting order and remaining strip widths before cutting. It is an illustrative layout, not an optimized yield calculation.
Add kerf to the layout
A saw removes material. Two panels at 23 inches wide can fit side by side across a 48-inch sheet with room for a normal saw kerf, but two 24-inch-wide panels cannot both fit across the width once kerf is included. Draw each cut as a strip with width, not as a zero-width line.
Watch grain and faces
For visible plywood, mark face orientation and the direction of the veneer grain. A mathematically compact layout may be unsuitable if it rotates a visible door panel against the grain direction.
Use a safe cutting method
Support the entire sheet, control the offcut and follow the tool manufacturer’s instructions. Large sheet goods can be awkward to handle alone. A cutting diagram is not a substitute for a safe cutting setup.
A sheet-layout thought experiment
On a nominal 1,220 × 2,440 mm sheet, two 600 mm-wide parts do not necessarily fit across the width once a blade kerf and any edge-trimming allowance are included: 600 + 600 leaves only 20 mm before those allowances. Turn a part only if its required grain or face direction permits it. The dimensions in this example are illustrative; verify the actual sheet before cutting.
Start by drawing the full sheet to scale, including a labelled factory edge. Put large parts on the layout first, then group smaller pieces in the remaining areas. Mark the saw path rather than drawing touching rectangles. Check that your saw guide and support method can make each cut safely; a mathematically efficient layout can still be impractical to cut.