Free illustrated project · Beginner · Desk-based design
Free indoor plant-pot sleeve plan
Before you start
These are illustrative dimensions in millimetres, not a physically tested plan. Measure your actual stock, check the proposed joint arrangement and draw the parts before cutting. Read the instructions supplied with your tools, secure the workpiece and use appropriate eye, hearing and dust protection. Do not cut or fasten parts until the dimensions make sense with the material you have.
Free cut list
| Part | Quantity | Cut size |
|---|---|---|
| Front and back panels | 2 | 180 × 160 × 12 mm |
| Side panels | 2 | 156 × 160 × 12 mm |
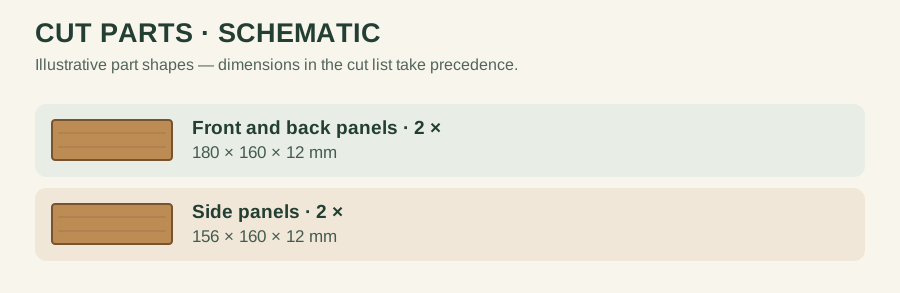
Front and back panels run the full 180 mm outside width. Side panels fit between them, so their length is 180 − (2 × 12) = 156 mm. There is deliberately no wooden base: a separate waterproof saucer must support the plant pot.
Allow for saw kerf and defects when buying stock. Cut dimensions are finished part sizes, not the total length of timber to purchase. Dry-fit every part before applying glue.
Assembly sequence
- Measure the actual nursery pot and saucer first. They must fit inside a 156 × 156 mm clear opening with space to lift them out.
- Cut the four panels to size and mark their inside faces. Dry-fit the butt joints on a flat surface.
- Apply suitable wood glue to the ends of the side panels and clamp them between the front and back. Add pilot-drilled fasteners only if compatible with the timber thickness.
- Check both diagonals while clamped. Once the glue cures, sand the rim and seal all accessible faces in accordance with the finish instructions.
- Set the sleeve over a waterproof saucer, then lower the removable pot into it. Lift out the pot for watering.
Layout check
Two 180 mm outer panels and two 156 mm panels between them make a 180 × 180 mm outside footprint. The interior opening is 156 × 156 mm before allowing any finish thickness. Measure the widest part of the removable plastic pot, not just its nominal diameter. This sleeve has no waterproof base.
Use, care and limitations
The sleeve is decorative, not waterproof or intended for direct soil contact. Do not allow standing water to touch timber or a vulnerable furniture surface.
If a cut does not match your stock, revisit the drawing instead of forcing the joint. Keep the finished item clean and check for splinters, loose parts and damage before use.
For a related project, see the seed tray. For planning help, read our cut-list guide or plan-reading guide.
Allow for a removable pot
Measure the widest point of the real nursery pot, including its rim, and allow room to lift it out. Do not seal drainage water inside the wooden sleeve; remove the pot for watering or use a removable watertight saucer. The sleeve is decorative and not a waterproof planter.