Free illustrated project · Beginner · Desk-based design
Free wooden seed tray plan
A shallow open-top tray for holding removable seed pots, with no direct soil contact. This is a free illustrative project with a dimensioned cut list; no signup or purchase is required.
Before you cut
All dimensions below are illustrative and use millimetres. Confirm the actual thickness of the timber you buy. Draw a simple front and side view and check that the part arrangement matches the finished size. Read the tool manufacturer’s instructions, secure the workpiece and use appropriate eye, hearing and dust protection. This plan has not been physically built or independently load-tested.
Free cut list
| Part | Quantity | Cut size |
|---|---|---|
| Long sides | 2 | 420 × 90 × 12 mm |
| Short ends | 2 | 236 × 90 × 12 mm |
| Base slats | 5 | 236 × 40 × 12 mm |
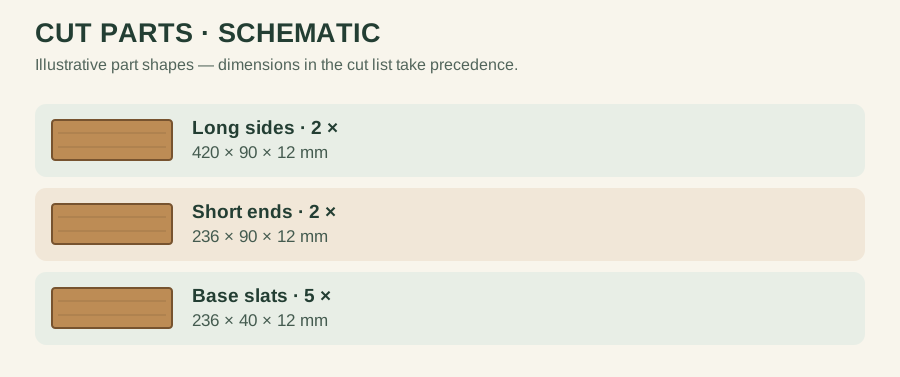
The short ends fit between the long sides: 260 − 12 − 12 = 236 mm. The five base slats span the 236 mm internal depth and are spaced across the 396 mm internal width (420 mm minus two 12 mm side thicknesses). Measure the pots before committing to the dimensions.
Assembly sequence
Cut the four wall pieces and lightly sand the cut edges. Pre-drill and assemble a rectangular frame on a flat surface. Check diagonals before tightening. Fit the base slats with gaps so water cannot sit in a continuous timber floor. Use a removable waterproof drip tray beneath pots indoors. Lift the pots out to water them, and allow the wood to dry.
Before finishing, check the assembly for twist, exposed screw tips and sharp edges. If a joint or dimension does not make sense with your available stock, stop and revise the drawing rather than forcing the pieces together.
Layout check
The outside depth is 12 + 236 + 12 = 260 mm. The open interior width is 420 − 24 = 396 mm; five 40 mm base slats occupy 200 mm of that width, leaving 196 mm to distribute between slats and edges. Decide the edge gaps before drilling. A removable drip tray must fit the finished inside dimensions.
Use and limitations
This is a carrier for pots, not a watertight planter. Wet soil held directly against timber accelerates deterioration. Keep it off delicate windowsills unless a waterproof tray is in place; do not lift a heavily loaded tray by one side.
For an easier first project, compare this with the pencil holder; for materials planning, use the cut-list guide and calculator.
Water and removable pots
Decide whether this is a carrier for separate pots or a tray intended to contain damp compost. The illustrated wood construction is better treated as a pot carrier: remove pots for watering and wipe spills promptly. If it must retain water, use a suitable removable insert rather than assuming glued timber joints are watertight.