Free illustrated project · Beginner · Desk-based design
Free potato storage crate plan
An open, ventilated timber crate for storing potatoes in a cool, dark place. This is a free illustrative project with a dimensioned cut list; no signup or purchase is required.
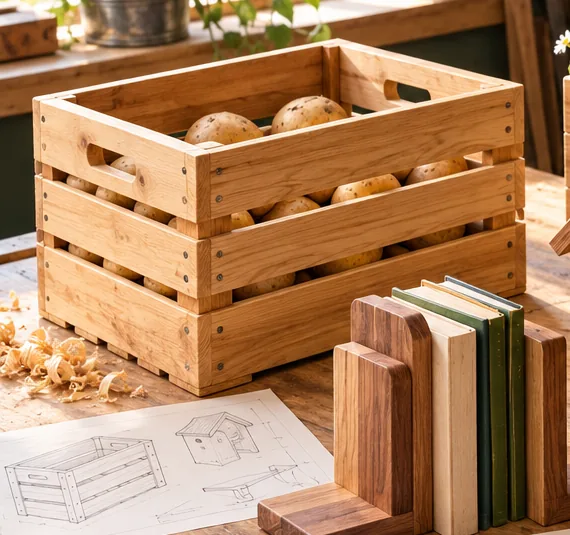
Before you cut
All dimensions below are illustrative and use millimetres. Confirm the actual thickness of the timber you buy. Draw a simple front and side view and check that the part arrangement matches the finished size. Read the tool manufacturer’s instructions, secure the workpiece and use appropriate eye, hearing and dust protection. This plan has not been physically built or independently load-tested.
Free cut list
| Part | Quantity | Cut size |
|---|---|---|
| Corner posts | 4 | 35 × 35 × 350 mm |
| Front and back slats | 6 | 400 × 70 × 12 mm |
| Side slats | 6 | 206 × 70 × 12 mm |
| Base slats | 4 | 206 × 55 × 12 mm |
| Base support ledgers | 2 | 330 × 20 × 20 mm |
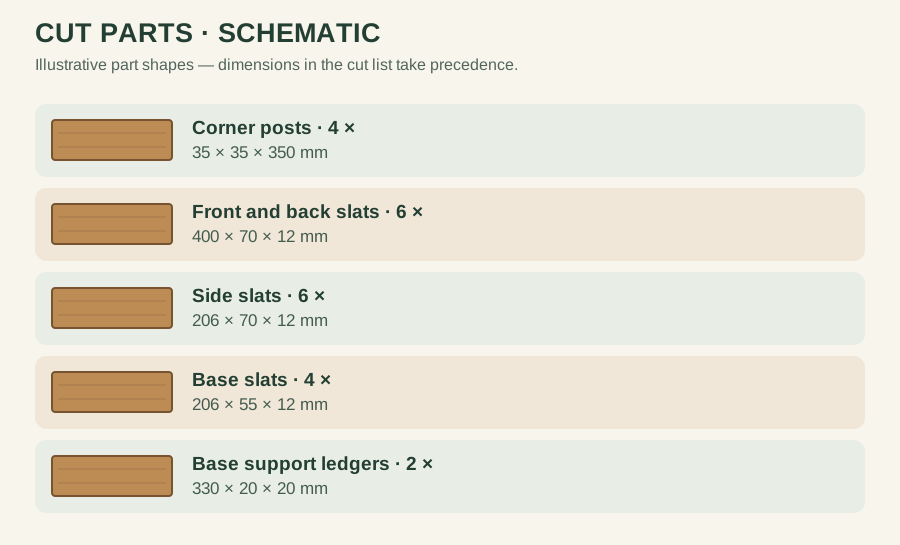
The 400 mm front and back slats are fixed across the outside faces of the corner posts. Along the 300 mm depth, each front/back slat adds 12 mm outside its post. The posts therefore occupy 300 − (2 × 12) = 276 mm from outer post face to outer post face. The side slats fit between the two 35 mm posts: 276 − (2 × 35) = 206 mm. The four 206 mm base slats span the same between-post depth; space their 55 mm widths across the clear 330 mm inside width. This is a schematic arrangement, not a workshop-validated joint or load rating. Draw the plan view and dry-fit before cutting the whole batch.
Assembly sequence
Make two matching side assemblies: place a pair of 35 mm posts with their outer faces 276 mm apart along the depth. Position three 206 mm side slats between the posts; drill suitable pilot holes and fasten through the posts into the slat ends, or choose a different properly designed joint if the selected material cannot hold that connection. Join the two side assemblies with three 400 mm front slats and three matching back slats, attached across the outside post faces. Check the outside width is 400 mm and the outside depth is 300 mm before proceeding. Support four 206 mm base slats on suitable internal ledgers or supports; fit the two 330 mm support ledgers inside the front and back at the same height, with suitable fasteners into the posts; confirm the slats bear fully on both supports. Do not rely on unsupported base slats. Sand sharp edges and remove splinters. Avoid finishes unsuitable for food-storage contact.
Before finishing, check the assembly for twist, exposed screw tips and sharp edges. If a joint or dimension does not make sense with your available stock, stop and revise the drawing rather than forcing the pieces together.
Layout check
Sketch a plan view showing 12 mm front/back slats outside 35 mm posts. The depth chain is 12 + 35 + 206 + 35 + 12 = 300 mm. Across the width, the clear distance between 35 mm corner posts is 400 − 70 = 330 mm. Verify the base supports and screw positions against your actual stock before cutting.
Use and limitations
Keep potatoes cool, dark, dry and ventilated, away from heat and direct sunlight. This crate is not rodent-proof and is not a substitute for food-storage guidance. Do not store it outdoors in rain. Check stored potatoes regularly and discard spoiled ones.
For an easier first project, compare this with the pencil holder; for materials planning, use the cut-list guide and calculator.
Airflow and cleaning
Leave the intended ventilation gaps open rather than covering the crate with a solid liner. Check that the base supports are positioned as described in the cut list and that the bottom is secure before loading. Keep stored potatoes in suitable cool, dark conditions; this wooden crate is not a substitute for food-storage guidance.