Free illustrated project · Beginner · Desk-based design
Free wooden pencil holder plan
A compact desk organiser made from straight cuts and a simple open box. This is a free illustrative project with a dimensioned cut list; no signup or purchase is required.
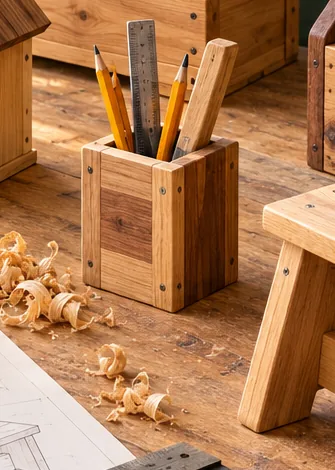
Before you cut
All dimensions below are illustrative and use millimetres. Confirm the actual thickness of the timber you buy. Draw a simple front and side view and check that the part arrangement matches the finished size. Read the tool manufacturer’s instructions, secure the workpiece and use appropriate eye, hearing and dust protection. This plan has not been physically built or independently load-tested.
Free cut list
| Part | Quantity | Cut size |
|---|---|---|
| Front and back | 2 | 100 × 120 × 12 mm |
| Sides | 2 | 76 × 120 × 12 mm |
| Base | 1 | 76 × 76 × 12 mm |
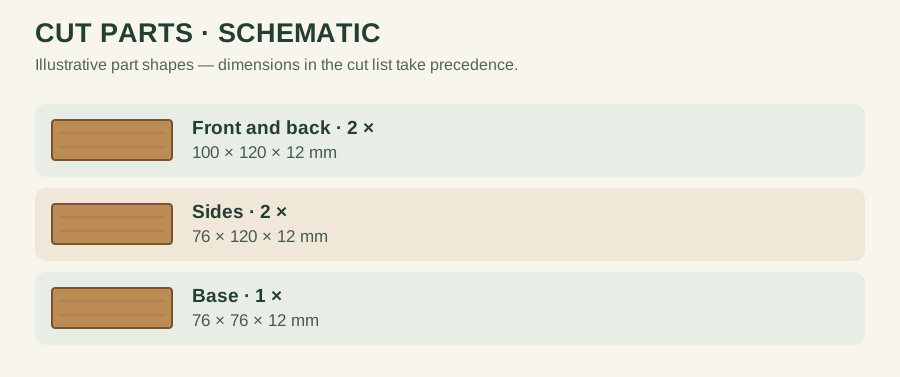
The two side panels fit between the full-width front and back. The internal width and depth are 100 − 24 = 76 mm. The base is an inset square; a different joint arrangement requires a different cut list.
Assembly sequence
Check the pieces against one another before applying glue. Assemble the four walls using suitable wood glue and clamps; pilot-drilled small fasteners can help, but keep their points away from the inside. Fit the base flush with the bottom, then sand the upper rim so it has no sharp corners. Finish only after the glue has cured according to its instructions.
Before finishing, check the assembly for twist, exposed screw tips and sharp edges. If a joint or dimension does not make sense with your available stock, stop and revise the drawing rather than forcing the pieces together.
Layout check
For the four walls, 100 mm front/back faces and 76 mm side pieces make a 100 × 100 mm outer footprint when the side pieces fit between the front/back pieces. The 76 × 76 mm base sits inside that opening. Decide whether the base sits flush with the bottom or is recessed; mark the support position before fastening.
Use and limitations
Do not use a deep, narrow holder for heavy tools that could make it tip. A felt pad protects a desk, and a removable liner makes pencil dust easier to clean.
For an easier first project, compare this with the pencil holder; for materials planning, use the cut-list guide and calculator.
Check the opening
Test the opening against the pens or pencils you actually use before fixing the final side. Check for sharp corners inside the opening and ensure any fastener points remain buried. A tall narrow holder may tip if filled with heavy tools; widen the footprint rather than relying on the concept illustration.