Free illustrated project · Beginner · Desk-based design
Free simple wooden desk tray plan
Before you start
These are illustrative dimensions in millimetres, not a physically tested plan. Measure your actual stock, check the proposed joint arrangement and draw the parts before cutting. Read the instructions supplied with your tools, secure the workpiece and use appropriate eye, hearing and dust protection. Do not cut or fasten parts until the dimensions make sense with the material you have.
Free cut list
| Part | Quantity | Cut size |
|---|---|---|
| Base panel | 1 | 240 × 160 × 12 mm |
| Front and back rails | 2 | 240 × 28 × 12 mm |
| Side rails | 2 | 136 × 28 × 12 mm |
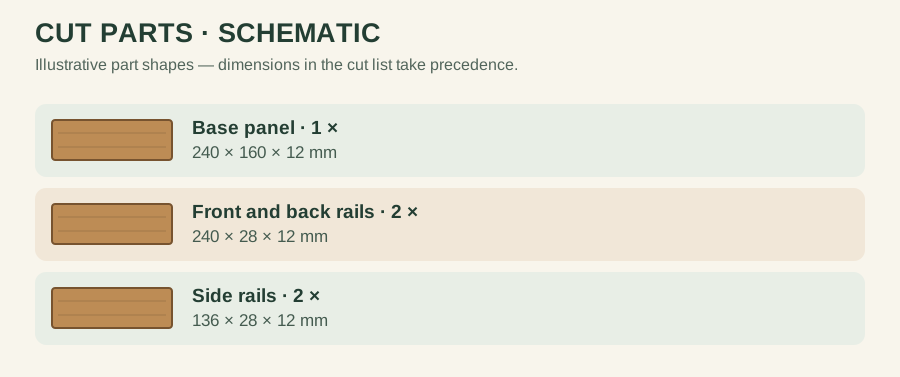
The 240 × 160 mm base defines the footprint. Front and back rails run the full 240 mm width. The side rails fit between them: 160 − (2 × 12) = 136 mm. The 28 mm rails sit on top of the 12 mm base, giving 40 mm overall height.
Allow for saw kerf and defects when buying stock. Cut dimensions are finished part sizes, not the total length of timber to purchase. Dry-fit every part before applying glue.
Assembly sequence
- Cut the base first and confirm it is square by comparing its diagonals.
- Cut the full-width front and back rails, then cut the 136 mm side rails from measured stock.
- Dry-fit the four rails on top of the base. Check that the short rails meet the inner faces of the long rails and that the outside edges align with the base.
- Glue the rail ends and clamp the frame square. Once cured, glue the frame to the base and clamp with protective pads.
- Ease exposed corners and apply a suitable finish after the adhesive has cured.
Layout check
The long rails run the full 240 mm length; the short rails fit between them, giving 160 − 24 = 136 mm. The base panel is 240 × 160 mm. Decide whether the rails sit on top of the base (increasing finished height) or surround it (requiring a different joint); the illustration is not a scale drawing.
Use, care and limitations
This is a desktop organiser, not a serving tray. It has no handles and is not designed for carrying hot drinks, food or heavy objects.
If a cut does not match your stock, revisit the drawing instead of forcing the joint. Keep the finished item clean and check for splinters, loose parts and damage before use.
For a related project, see the bookends. For planning help, read our cut-list guide or plan-reading guide.
Keep the tray square
Measure both diagonals during the dry fit. Equal diagonals help indicate a square rectangular assembly, but also check that the base sits flat. If the tray will hold small stationery, inspect the inside corners for splinters and exposed fastener ends.