Free illustrated project · Beginner · Desk-based design
Free small slatted wooden stand plan
Before you start
These are illustrative dimensions in millimetres, not a physically tested plan. Measure your actual stock, check the proposed joint arrangement and draw the parts before cutting. Read the instructions supplied with your tools, secure the workpiece and use appropriate eye, hearing and dust protection. Do not cut or fasten parts until the dimensions make sense with the material you have.
Free cut list
| Part | Quantity | Cut size |
|---|---|---|
| Top slats | 4 | 180 × 30 × 12 mm |
| Underside runners | 2 | 156 × 24 × 12 mm |
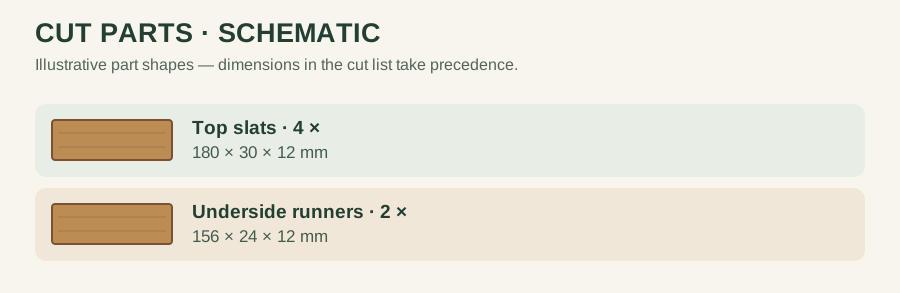
Four 30 mm-wide top slats occupy 120 mm. Three equal 20 mm gaps make the overall top width 180 mm. The 156 mm runners fit below, set back 12 mm from each end of the 180 mm slats. Their 12 mm thickness plus the top slats’ 12 mm gives 24 mm overall height.
Allow for saw kerf and defects when buying stock. Cut dimensions are finished part sizes, not the total length of timber to purchase. Dry-fit every part before applying glue.
Assembly sequence
- Cut four matching 180 mm top slats and two 156 mm runners. Check that each set matches before assembly.
- Lay the top slats face down on a flat surface with three 20 mm spacer blocks between them. Check the outside width is 180 mm.
- Position the two runners across the slats, 12 mm in from the slat ends. Mark their locations so they remain parallel.
- Glue the contact faces and clamp gently. If using screws, predrill and choose a length that cannot emerge through the top face.
- Remove the spacers after the adhesive cures. Sand sharp corners and apply a finish suitable for the intended use.
Layout check
Four 30 mm slats and three 20 mm gaps give 4 × 30 + 3 × 20 = 180 mm across the top. The two 156 mm runners are set 12 mm in from each 180 mm end. Keep the runners perpendicular to the slats and verify their contact area before gluing. This is not a heat-rated trivet or a load-tested stand.
Use, care and limitations
This is not a heat-resistant trivet. Do not place hot pans, cookware or naked flames on it. Use it only under cool objects.
If a cut does not match your stock, revisit the drawing instead of forcing the joint. Keep the finished item clean and check for splinters, loose parts and damage before use.
For a related project, see the coaster set. For planning help, read our cut-list guide or plan-reading guide.
Check slat spacing and intended use
Lay the slats out with spacers before fastening so the gaps remain consistent. Check that the stand is stable on a level floor and that the item placed on top is supported by the slats. This is a light-duty illustrative stand, not a rated step stool or seating surface.