Free illustrated project · Beginner · Desk-based design
Free wooden coaster set plan
Before you start
These are illustrative dimensions in millimetres, not a physically tested plan. Measure your actual stock, check the proposed joint arrangement and draw the parts before cutting. Read the instructions supplied with your tools, secure the workpiece and use appropriate eye, hearing and dust protection. Do not cut or fasten parts until the dimensions make sense with the material you have.
Free cut list
| Part | Quantity | Cut size |
|---|---|---|
| Coaster blanks | 4 | 95 × 95 × 12 mm |
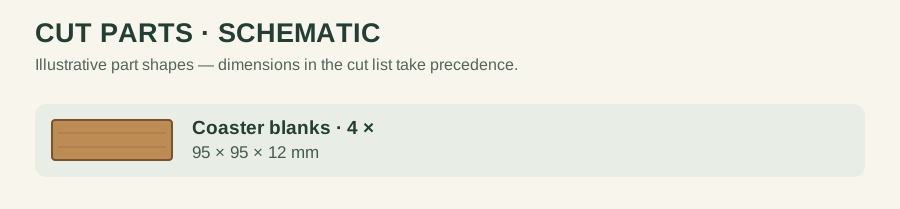
Each coaster is a single piece. No joinery is needed; the only repeated dimension is the 95 mm square.
Allow for saw kerf and defects when buying stock. Cut dimensions are finished part sizes, not the total length of timber to purchase. Dry-fit every part before applying glue.
Assembly sequence
- Mark four 95 mm squares on sound, flat 12 mm stock. Leave enough room between marks for the width of the saw cut.
- Secure each blank and cut to the waste side of the line. Check one finished square before cutting the other three.
- Ease the top and bottom edges with a sanding block; do not sand so much that the coasters rock.
- Remove dust and apply a finish whose manufacturer states it is suitable for the intended moisture exposure. Follow its curing instructions.
Layout check
Four blanks of 95 × 95 × 12 mm make four separate coasters. If cut from one long strip, allow three saw kerfs between blanks plus end trimming. Round over or ease the corners equally and test your finish on an offcut; a moisture-resistant finish does not make timber waterproof.
Use, care and limitations
Wood moves with changes in humidity. Dry wet coasters promptly and do not put them in a dishwasher. A finish can reduce staining but cannot make an ordinary wood coaster permanently waterproof.
If a cut does not match your stock, revisit the drawing instead of forcing the joint. Keep the finished item clean and check for splinters, loose parts and damage before use.
For a related project, see the pencil holder. For planning help, read our cut-list guide or plan-reading guide.
Finish and moisture
Coasters encounter condensation and warm cups. Select a finish according to its manufacturer’s stated water and heat resistance, and let it cure fully before use. Check that every coaster sits flat; uneven thickness or a raised fastener can scratch a tabletop.