Free illustrated project · Beginner · Desk-based design
Free small wooden tool caddy plan
A portable organiser for light hand tools, using an open box rather than a load-bearing handle. This is a free illustrative project with a dimensioned cut list; no signup or purchase is required.
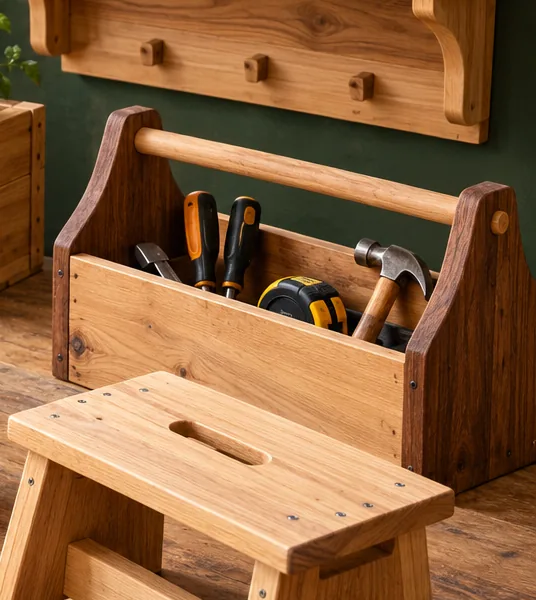
Before you cut
All dimensions below are illustrative and use millimetres. Confirm the actual thickness of the timber you buy. Draw a simple front and side view and check that the part arrangement matches the finished size. Read the tool manufacturer’s instructions, secure the workpiece and use appropriate eye, hearing and dust protection. This plan has not been physically built or independently load-tested.
Free cut list
| Part | Quantity | Cut size |
|---|---|---|
| Long sides | 2 | 350 × 160 × 12 mm |
| Short ends | 2 | 156 × 160 × 12 mm |
| Bottom | 1 | 326 × 156 × 12 mm |
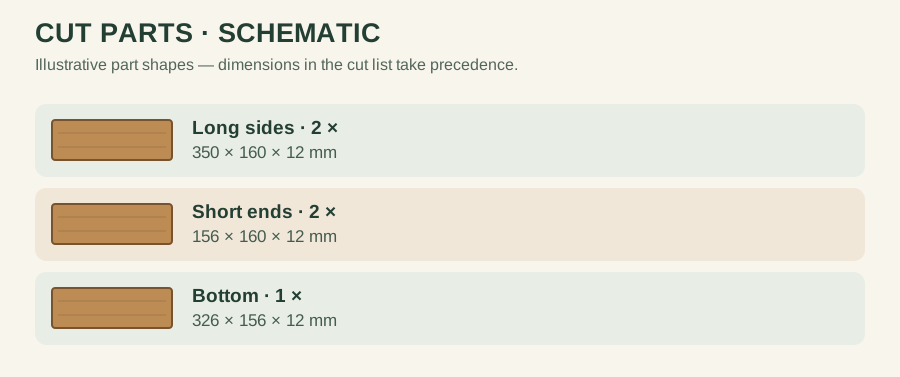
The short ends fit between the long sides, so their length is 180 − 24 = 156 mm. The bottom fits inside all four walls: 350 − 24 = 326 mm by 156 mm. A bottom panel mounted underneath would need different dimensions.
Assembly sequence
Assemble the four walls square using glue and appropriate fasteners. Test-fit the bottom and support it with small internal cleats or an appropriately designed housed joint; do not rely on end-grain screws alone to carry the contents. Smooth all edges and finish according to the manufacturer’s directions. Keep the organiser on a bench rather than lifting it while loaded.
Before finishing, check the assembly for twist, exposed screw tips and sharp edges. If a joint or dimension does not make sense with your available stock, stop and revise the drawing rather than forcing the pieces together.
Layout check
With 12 mm long sides outside the short ends, the internal length is 350 − 24 = 326 mm. The 156 mm end pieces give an outer depth of 156 + 24 = 180 mm. The 326 × 156 mm bottom fits inside the walls, but must be supported by a specified ledge or suitable joint; it must not be left hanging from end-grain screws.
Use and limitations
The design does not include a tested carrying handle. Do not attach a handle and assume the box is safe to lift with heavy tools; a portable load-bearing version needs a separately verified handle and joint design.
For an easier first project, compare this with the pencil holder; for materials planning, use the cut-list guide and calculator.
Handle attachment
Dry-fit the handle with the heaviest tools you expect to carry before drilling the end panels. The joint must resist both the weight and the twisting created when the load shifts. Do not claim a carrying capacity from this untested example; use a proven design for heavy or sharp tools.