Free illustrated project · Beginner · Desk-based design
Free hand sanding block plan
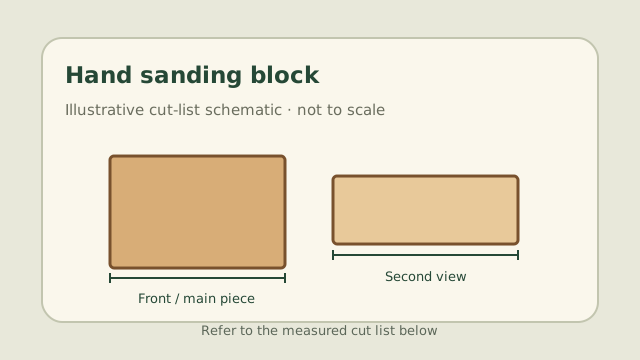
Before you start
These are illustrative dimensions in millimetres, not a physically tested plan. Measure your actual stock, check the proposed joint arrangement and draw the parts before cutting. Read the instructions supplied with your tools, secure the workpiece and use appropriate eye, hearing and dust protection. Do not cut or fasten parts until the dimensions make sense with the material you have.
Free cut list
| Part | Quantity | Cut size |
|---|---|---|
| Solid-wood block | 1 | 120 × 65 × 30 mm |
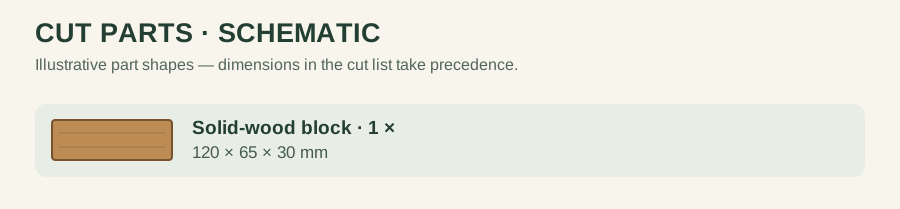
The finished block is one solid rectangular piece. If your available stock is 25 mm thick rather than 30 mm, adjust the finished thickness; no mating components depend on it.
Allow for saw kerf and defects when buying stock. Cut dimensions are finished part sizes, not the total length of timber to purchase. Dry-fit every part before applying glue.
Assembly sequence
- Choose a sound, dry offcut without loose knots or splits. Mark the 120 mm length and 65 mm width from one reference edge.
- Clamp the stock and make the cuts using a suitable saw and stable support. Check the ends with a square.
- Round only the corners that contact your hand. Keep the working face flat so it supports the abrasive evenly.
- Wrap a strip of abrasive paper around the working face and up the sides. Hold the paper securely with your hand, keeping fingers clear of the sanding face.
- Replace worn paper as needed. Check the block for splinters before each use.
Layout check
The single block is 120 × 65 × 30 mm. Abrasive paper must wrap around the 65 mm width and both edges; measure your preferred paper size and grip before cutting any retaining slots. Do not add a screw or sharp staple to a face that may contact the workpiece.
Use, care and limitations
A hand block does not replace dust protection. Sanding can produce hazardous dust, especially with certain woods, finishes and sheet materials. Use suitable extraction and protective equipment.
If a cut does not match your stock, revisit the drawing instead of forcing the joint. Keep the finished item clean and check for splinters, loose parts and damage before use.
For a related project, see the beginner tools guide. For planning help, read our cut-list guide or plan-reading guide.
Fit the abrasive securely
Round any grip edges that would press into the hand. Ensure the abrasive stays fixed without exposed staples or fasteners on the sanding face. Replace worn paper rather than applying excessive pressure, and choose dust protection suitable for the material being sanded.